Wehnimer's Landing Area (map): Difference between revisions
Jump to navigation
Jump to search
mNo edit summary |
No edit summary |
||
| Line 9: | Line 9: | ||
{| |
{| |
||
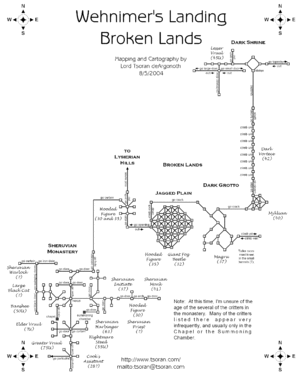
|[[Image:WL-broken.gif|thumb|Broken Lands]] |
|[[Image:WL-broken.gif|thumb|Broken Lands]] |
||
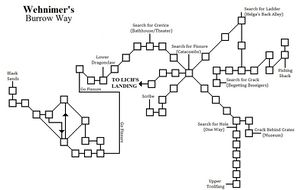
|[[Image:WL-Burrow Way.jpg|thumb|Burrow Way<br> (invasion area)]] |
|||
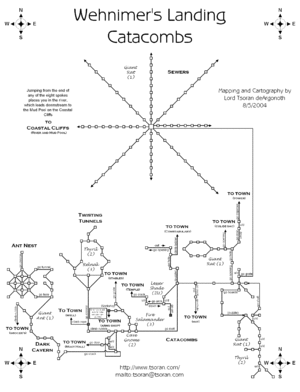
|[[Image:WL-catacombs.gif|thumb|Catacombs]] |
|[[Image:WL-catacombs.gif|thumb|Catacombs]] |
||
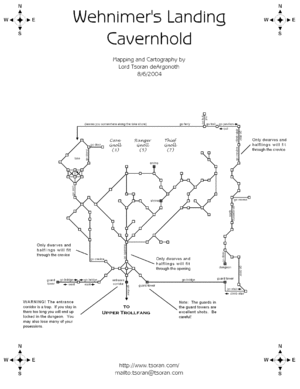
|[[Image:WL-cavernhold.gif|thumb|Cavernhold]] |
|[[Image:WL-cavernhold.gif|thumb|Cavernhold]] |
||
| ⚫ | |||
|} |
|} |
||
{| |
{| |
||
| ⚫ | |||
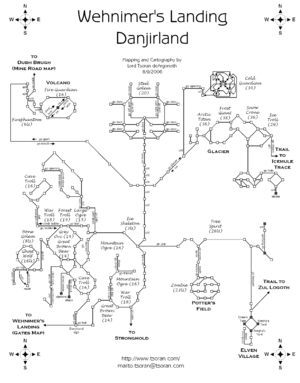
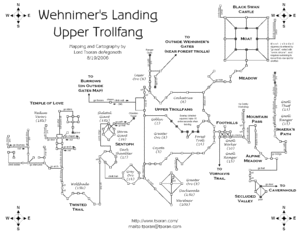
|[[Image:WL-danjirland.gif|thumb|Danjirland, Upper Trollfang and Glacier]] |
|[[Image:WL-danjirland.gif|thumb|Danjirland, Upper Trollfang and Glacier]] |
||
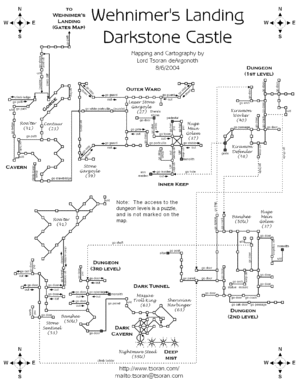
|[[Image:WL-darkstone.gif|thumb|Darkstone Castle]] |
|[[Image:WL-darkstone.gif|thumb|Darkstone Castle]] |
||
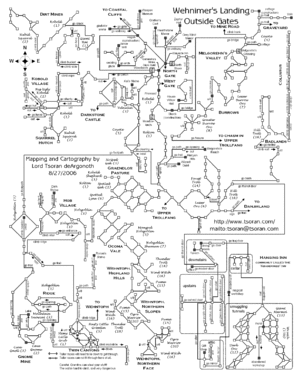
|[[Image:WL-gates.gif|thumb|Town Gates]] |
|[[Image:WL-gates.gif|thumb|Town Gates]] |
||
| ⚫ | |||
|} |
|} |
||
{| |
{| |
||
| ⚫ | |||
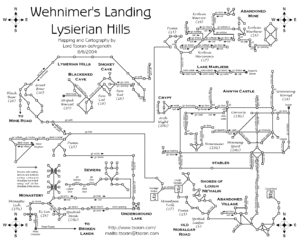
|[[Image:WL-lysierian.gif|thumb|Lyserian Hills and <br>Anwyn Castle]] |
|[[Image:WL-lysierian.gif|thumb|Lyserian Hills and <br>Anwyn Castle]] |
||
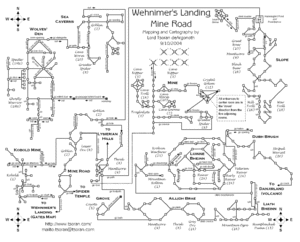
|[[Image:WL-mineroad.gif|thumb|Mine Road and Luinne Bheinn]] |
|[[Image:WL-mineroad.gif|thumb|Mine Road and Luinne Bheinn]] |
||
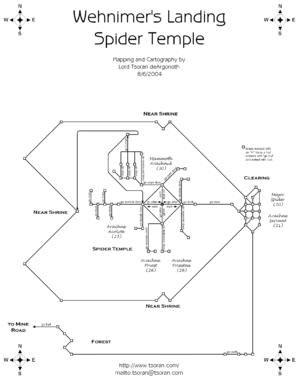
|[[Image:WL-spidertemple.gif|thumb|Spider Temple]] |
|[[Image:WL-spidertemple.gif|thumb|Spider Temple]] |
||
| ⚫ | |||
|} |
|} |
||
{| |
{| |
||
| ⚫ | |||
|[[Image:WL-trollfang.gif|thumb|Trollfang and Temple of Love]] |
|[[Image:WL-trollfang.gif|thumb|Trollfang and Temple of Love]] |
||
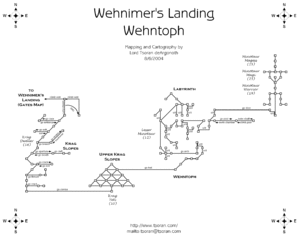
|[[Image:Wehntoph.jpg|thumb|Wehntoph, Krag Slopes and Hidden Plateau]] |
|[[Image:Wehntoph.jpg|thumb|Wehntoph, Krag Slopes and Hidden Plateau]] |
||
